How to make a sketch‑to‑3D video, step by step
No typing: install one program, drop a file and get your video, with a drawing for every step.
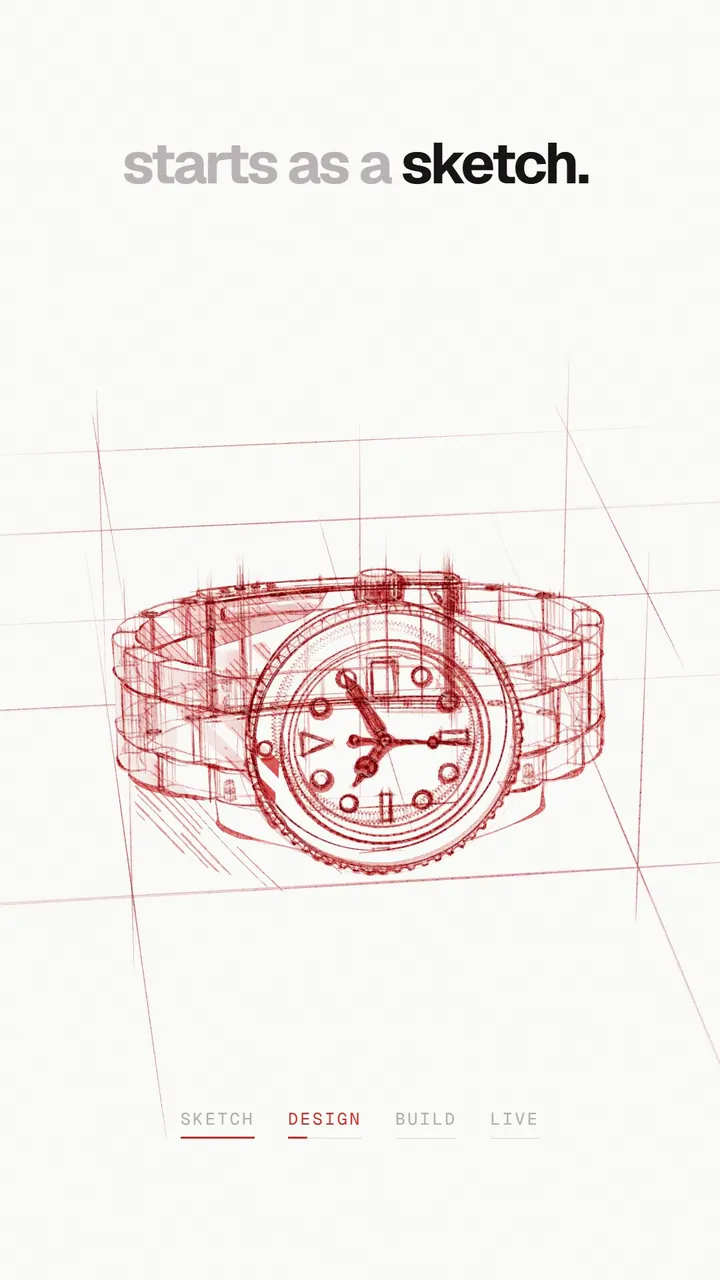
A sketch-to-3D video starts with a marker drawing that builds itself line by line and then turns into the real object. You can make one on your own computer, at no cost, with the Good Sites Only Sketch Kit, and you do not have to type anything: you install one program, then you drop a file. This guide takes you through it one step at a time, with a drawing for every step. The first time takes about 20 minutes. After that, each video takes a few minutes.
What you need
- A computer with Windows or a Mac. A laptop is fine.
- Internet for the first installation.
- About 20 minutes the first time.
- A 3D model of your object. Step 1 shows you where to get one.
Step 1. Get a 3D model
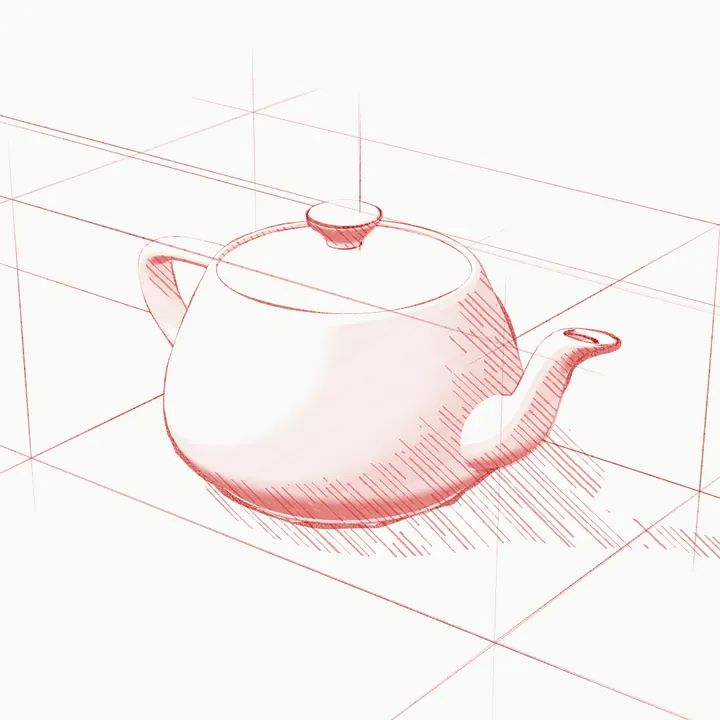
A 3D model is a file that describes an object in three dimensions, the way a designer builds it on a computer. The kit turns that file into the drawing. You can get one in three ways:
- From whoever made your product. Ask your manufacturer or designer for the 3D file. Any of these work: a file that ends in .glb, .gltf, .obj or .fbx.
- From Poly Haven, at polyhaven.com, where every model can be used for anything at no cost. Open the Models section, pick one, press Download, choose the glTF format and unzip what you downloaded. Inside you will find a file that ends in .gltf.
- From a stock site such as Envato or TurboSquid. Choose a model that comes with FBX or OBJ files. A download that is only a picture (a PNG or PSD file) is not a 3D model, and it cannot be drawn.
Products, furniture, vehicles and gadgets that were designed on a computer draw beautifully. A 3D scan of a real object comes out as scribble.
Step 2. Install Node.js (only once)
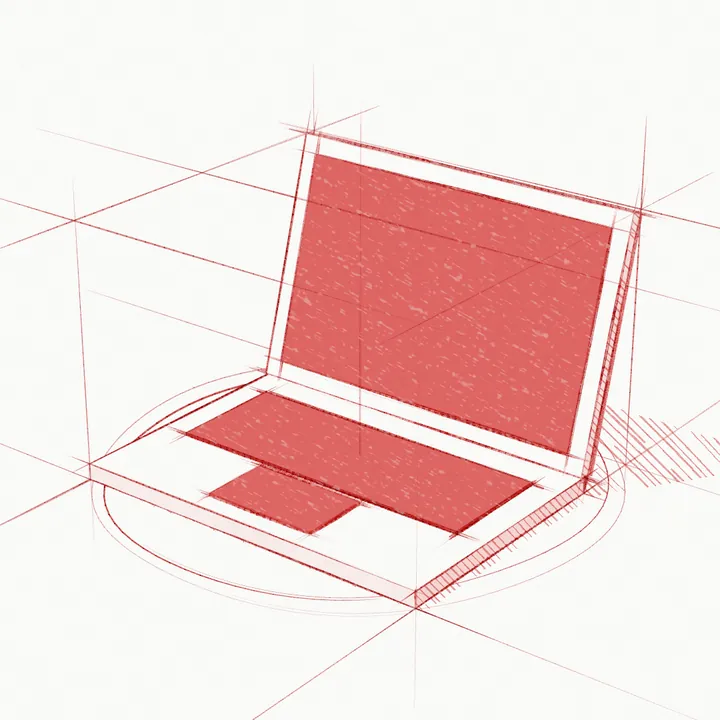
Node.js is the free program the kit runs on. You install it once, like any other program, and you never have to open it.
- Go to nodejs.org.
- Press the green button that says LTS.
- Open the file that downloads.
- Click Next on every screen (on a Mac, Continue), then Install, then Finish. A Mac may ask for your computer's password. That is normal.
Step 3. Download the Sketch Kit and unzip it
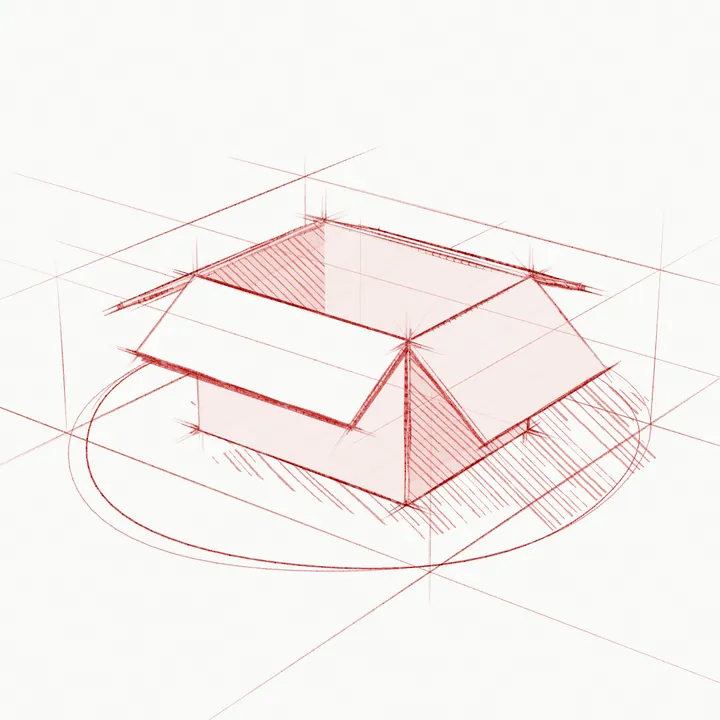
Leave your email here and the download starts right away. It is a 6 MB zip file.
- On Windows, right-click the file, choose Extract All and then Extract. On a Mac, double-click it.
- You now have a folder called gso-sketch-kit. Move it to your Desktop so it is easy to find.
Inside the folder you will see three files you will use: 1 Install, 2 Make video and 3 Make video on red paper. You can ignore everything else.
Step 4. Double-click "1 Install" (only once)
- On Windows, double-click 1 Install. If Windows asks whether you want to run it, choose Run, or More info and then Run anyway. It asks because the file is new to your computer.
- On a Mac, the first time, right-click 1 Install, choose Open and then Open again. A Mac asks because the file does not come from the App Store.
A window with white letters opens and installs everything the kit needs. Wait one or two minutes until it says Ready, then press any key to close it.
Step 5. Make your video
- On Windows, drag your 3D model file and drop it on 2 Make video.
- On a Mac, double-click 2 Make video and choose your 3D model in the window that opens.
A window shows what the kit is doing: it prepares the model, checks how it sits in the frame and draws the video. That takes a few minutes. When it finishes, a folder opens next to your model with your video inside, called "your model's name sketch.mp4".
For a red background, do the same with 3 Make video on red paper.
Step 6. Post it
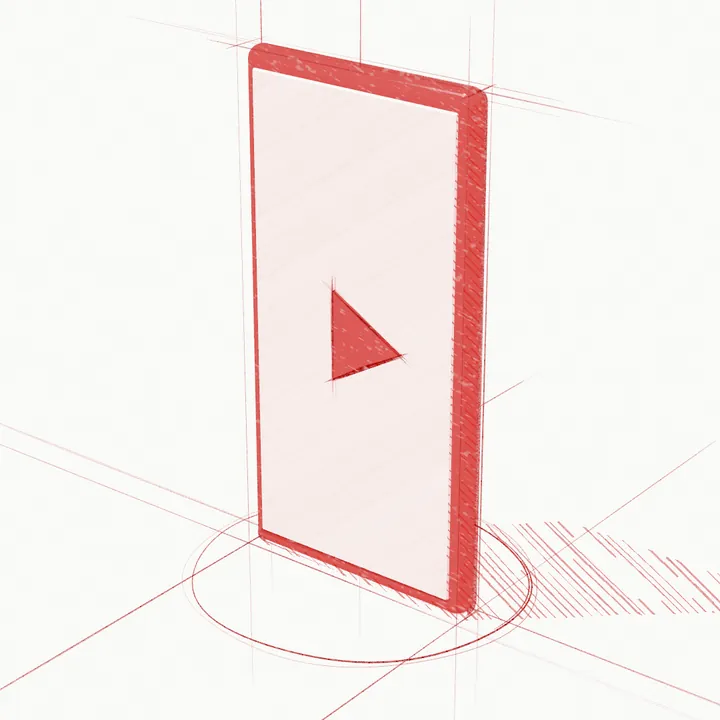
The video is vertical, 1080 by 1920, which is the size Instagram Reels, TikTok and YouTube Shorts use. Send it to your phone by email, WhatsApp, AirDrop or Google Drive, open the app, add music there and post it. In the caption, say what the object is and where people can buy it or see more.
What does the drawing show?
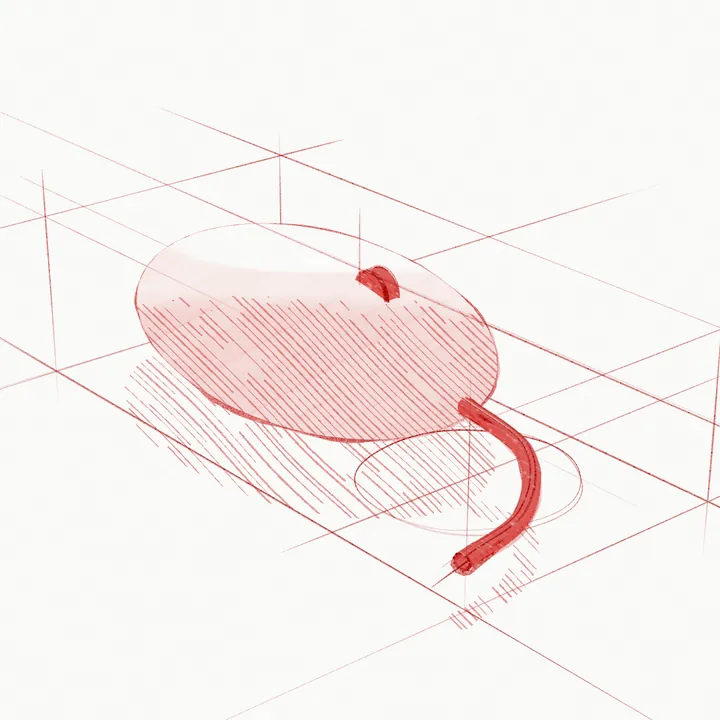
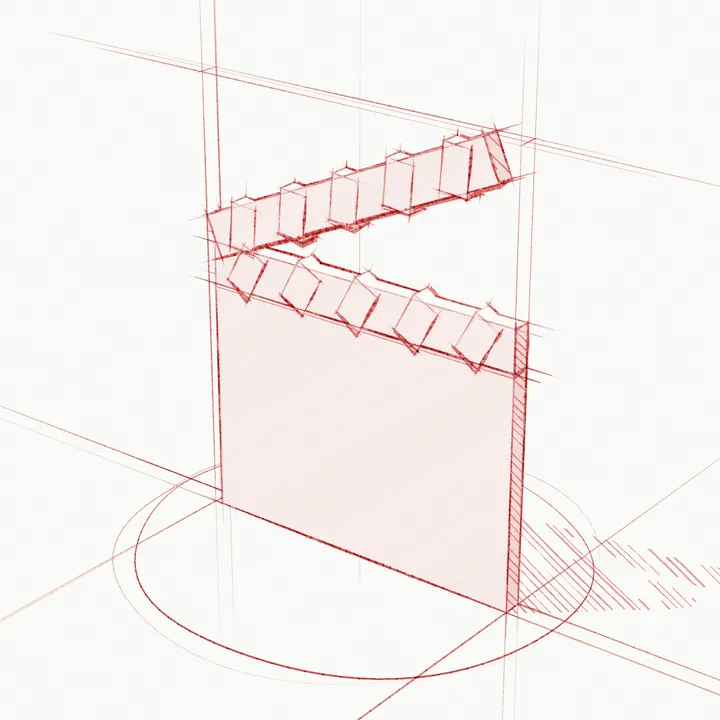
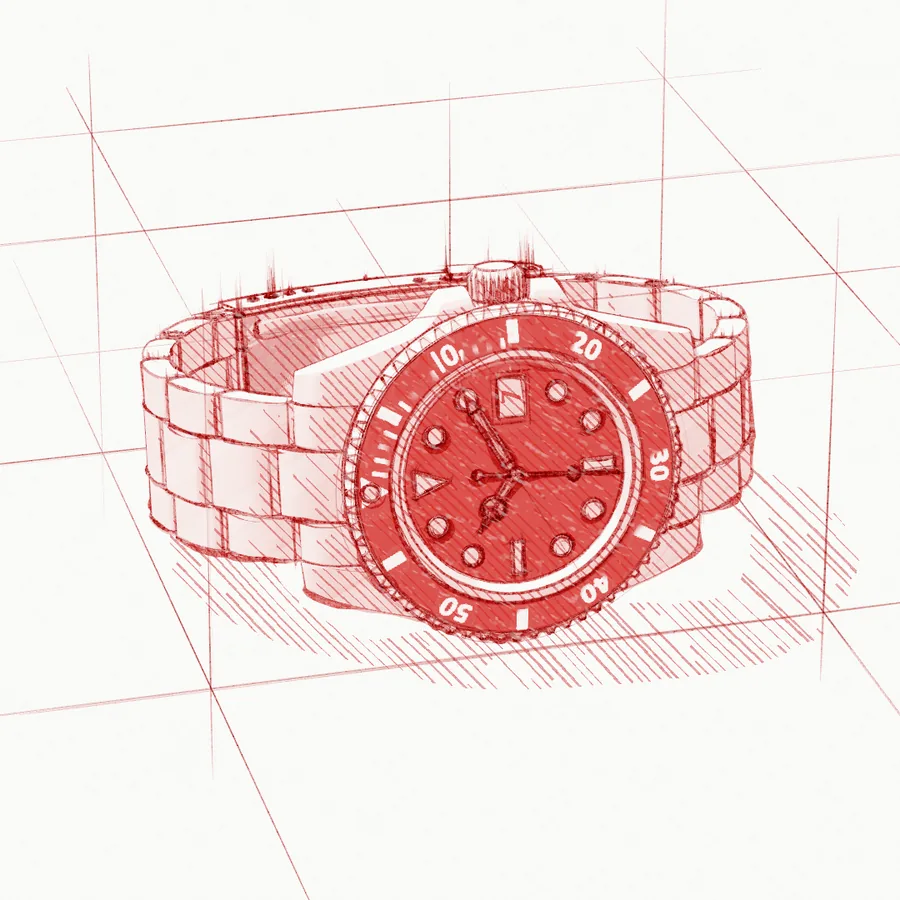
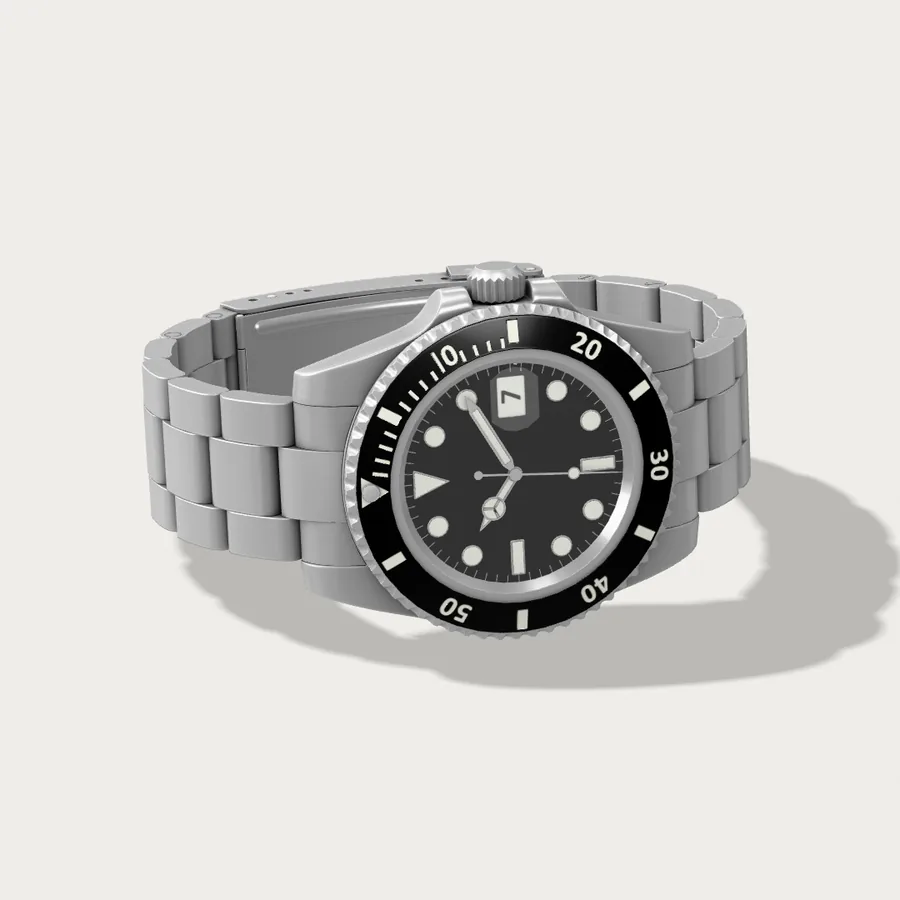
It shows your object the way a designer would draw it: circle guides on the round parts and a construction box first, then the outlines, a light pencil pass and darker tracing, a marker fill with a hatched shadow and the colour. At the end the drawing wipes away and the real object appears. The whole drawing takes about seven seconds, while the camera turns slowly around the object.
If something goes wrong
- It says Node.js is not installed. Do step 2, then double-click 1 Install again.
- On Windows, the window says to drag a file. Instead of double-clicking 2 Make video, drag your model and drop it on it.
- It says the file is a zip. Unzip it first, then use the 3D model inside.
- It says it cannot draw a .png or .psd file. That is a picture, not a 3D model. Go back to step 1.
- The real object comes out grey, or the drawing looks like scribble. The model is missing its colours or it is a 3D scan. Try another model, or send it to us.
Do you need to know how to code?
No. You install one program, double-click one file and drop another. The kit does the rest.
Is it safe?
Yes. Everything happens on your own computer and your model is not uploaded anywhere. The kit is open source, under the MIT licence, so anyone can read every line of it.
Can you use the videos in ads and on social media?
Yes. What you make with the kit is yours to use, including for ads and client work. The 3D model has its own licence, and that licence decides where you can use a video made from it. Models from Poly Haven can be used for anything.
Can it do more?
Much more. The kit can make a whole reel with captions that pop in word by word, several objects and a closing screen, use your brand's colours and put the drawing on your website so it draws itself as visitors scroll. Those options need a few typed commands, and the README file inside the kit explains each one.
Would you rather we made it?
Good Sites Only makes these videos for businesses, and puts the drawing on their website so it sketches itself in as visitors scroll. Tell us about your product and we take it from there.
The Sketch Kit is open source under the MIT licence and builds on other open-source projects, credited in its files.
Need a website that brings in customers? Start your site